Customize Quick Access Toolbar in Outlook
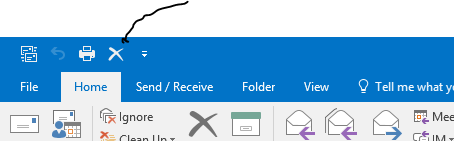
Sometimes, people are often in a hurry to complete a task. In Outlook, there's a way to do some tasks with a push of a button. That is called the Quick Access Toolbar
which is located at the upper left corner of the application (See image below).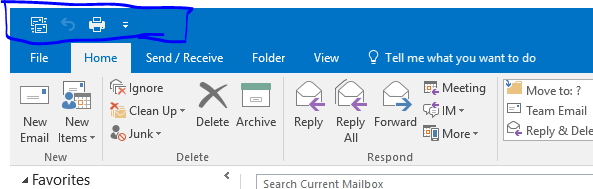
This can be edited to your preference. Just follow the steps below.
Here's the step-by-step guide on customizing your Quick Access Toolbar
- Click the drag down button
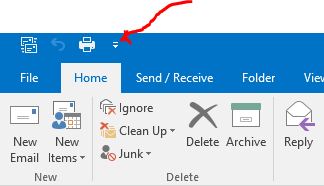
- Click the More Commands option (It should be near the bottom of the list)
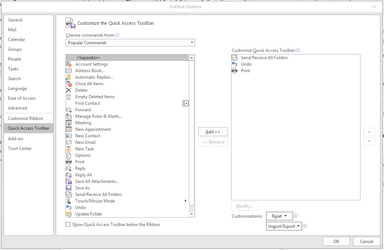 It should look like this
 - On the left, you can choose which commands from any tabs you want to add
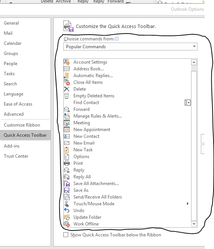
- Just simply click the commands you like to add and click the add button
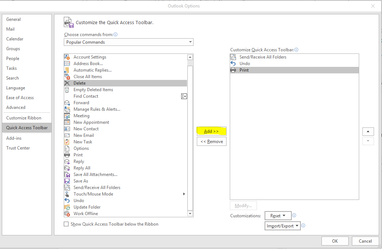
 The ones that you have selected will be moved to the right.
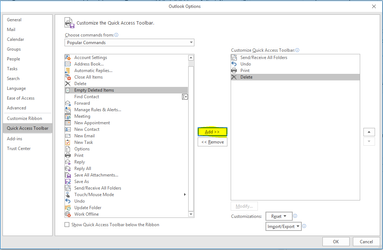
 - Click ok and the commands you have selected will now appear on the upper left corner
- Removing the commands from the Quick Access Toolbar has the same proccess from Step 4 but only in reverse. Click any of the commands from the right box, click remove, and the commands
you have selected will be moved to left.
Related articles